Evening
This is
another I made up from the lovely new Joanna Sheen Holly Pond Hill
This time
I'm back to the normal A5 sized card – and what a card it is!!!
I know I
have said it before – but this set of cds are stunning!!!

So
materials for this card I used ….
Heat mat
to work on and protect your surface – I always use it...
A4 sheet
pale pink adorable scorable card
Printed
sheet & decoupage, printed backing sheet
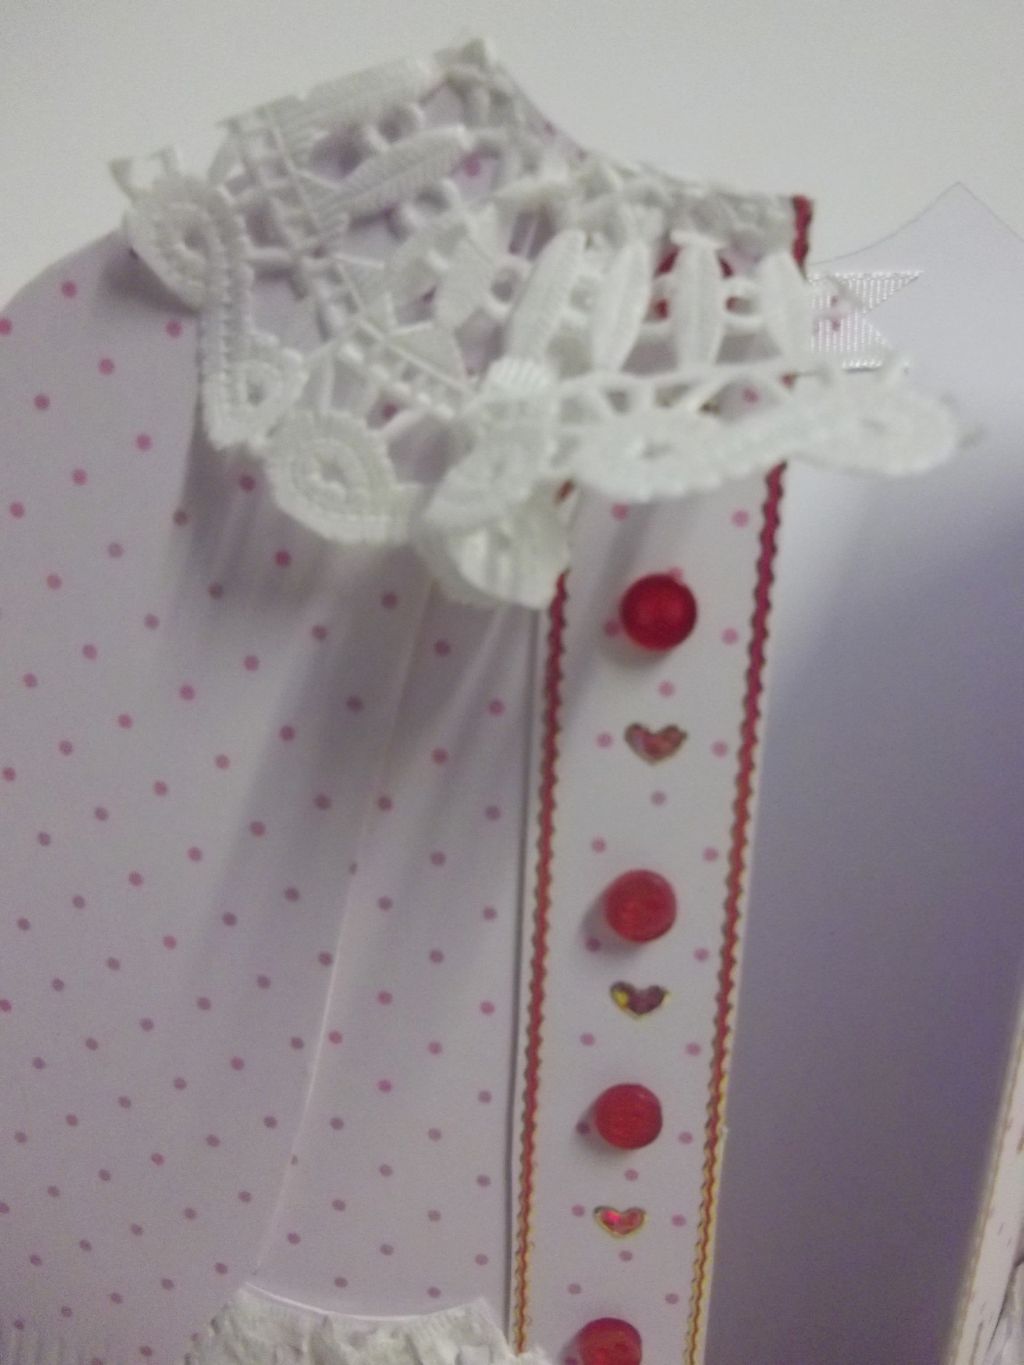
Gold edged
burgundy sparkle ribbon
Sticky
pads
Eazi Score
Board & tool
Tonic 8”
guillotine
Scissors
Tweezers
Shaping
tool from www.dimensionstamps.com
Foam
shaping mat – stamping mat or even a mouse mat

To
make the card …
I scored
and folded the lovely pink adorable scorable card to create the card
blank
Trimmed
the sheet of backing paper to fit the card front leaving the all
round border
Cut a
length of ribbon to go around the backing paper – secured it at the
back then stuck the backing paper to the card using double sided
tape.
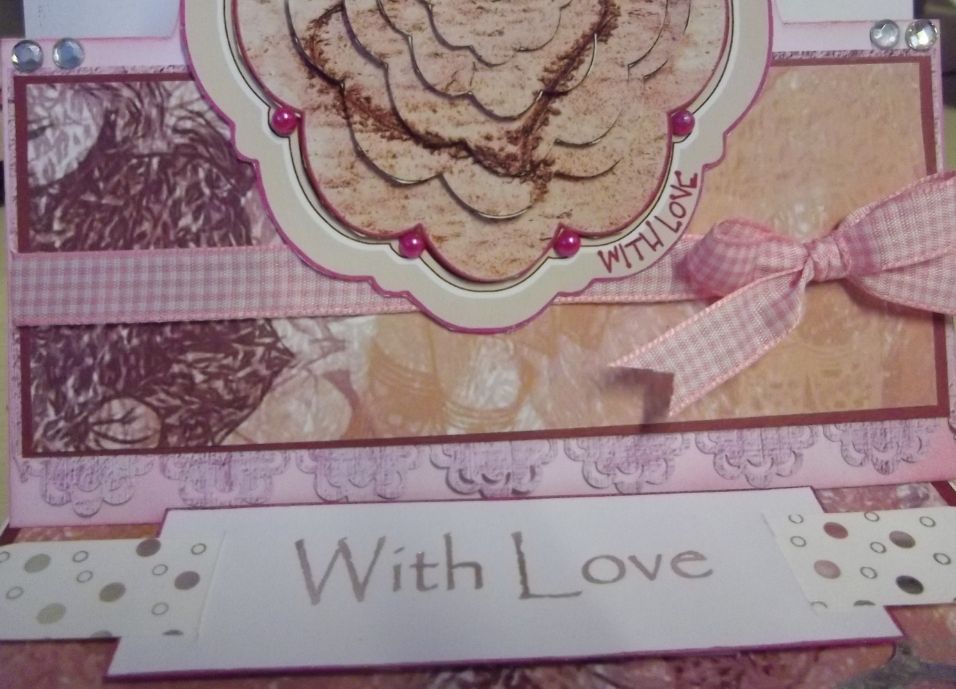
I cut out
the base layer of decoupage and this was positioned over the ribbon
and stuck in place with double sided tape

Then it
was down to the decoupage – what I feel I must add is if you don't
like cutting out – or struggle with it – this design is not for
you
It took me
a few hours to actually cut out all the elements – they were so
fiddly and some tiny parts too...but because I loved the design I
just plodded on!
I had to
use tiny sticky pads to build up the decoupage as it had so many
small sections
My advise
is – take your time – cut carefully – and more so with the
sticky pads!

And that's
it all done!
Every time
I look at this card I think its so realistic – you can almost
imagine the doors opening – the 3d art work is top class which is
why the cd has to be a winner!
So far I
haven't added any glitter or glaze and left off a sentiment as who
knows when this will be used – or for what occasion as its another
of those cads that would be lovely for most events!!!
Its
another card in my “to use or sell” box
See you
again tomorrow friends!
x